🔒 FireVision VPN Setup Guide
Secure Camera Connectivity with Raspberry Pi 4
🌐 Why a VPN for FireVision?
In some network environments, direct access to your camera's RTSP stream might be blocked or complex to configure. A Virtual Private Network (VPN) creates a secure, encrypted tunnel, allowing FireVision to reliably connect to your cameras even if they are behind restrictive firewalls. This guide uses PiVPN and No-IP to create a simple, stable, and secure connection using a Raspberry Pi.
🛠️ Prerequisites
- Raspberry Pi 4: Model B with Desktop environment.
- MicroSD Card: 16GB or larger (Class 10 recommended).
- Power Supply: Official Raspberry Pi USB-C power supply (5.1V 3A).
- Ethernet Cable: For initial setup and stable connection.
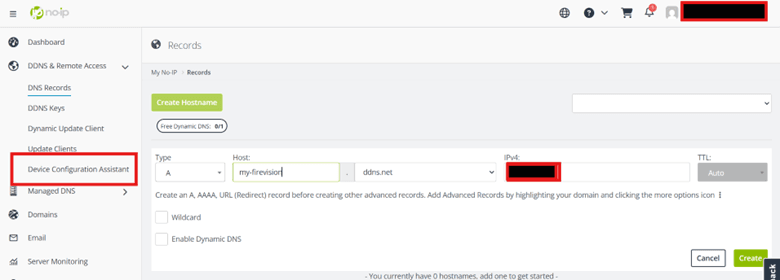
- A No-IP Account: Create a free account at www.noip.com and create a hostname.
- Raspberry Pi Imager: Software to flash the OS to your SD card.
Let's get started with securing your camera feeds!
Step 1: Prepare Your Raspberry Pi
First, we need to install the operating system and enable SSH for remote access.
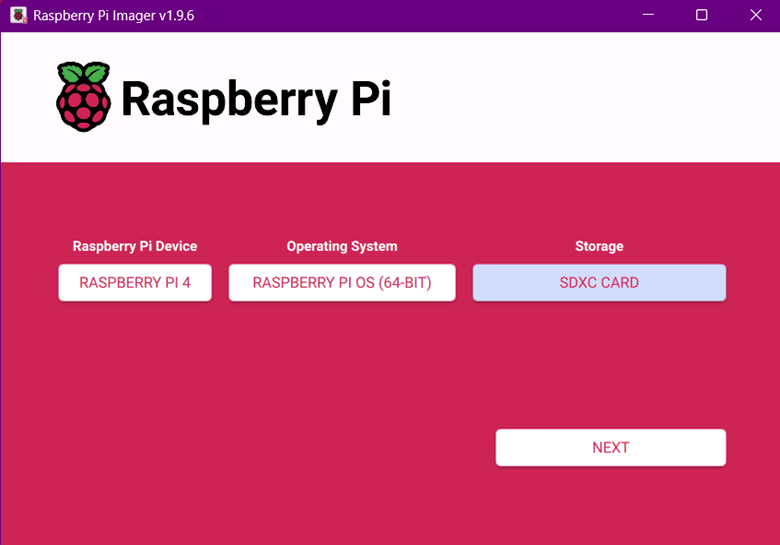
✅ 1.1 Install Raspberry Pi OS with Desktop:
- Download and run the
Raspberry Pi Imager. - Choose your Raspberry Pi device, and for the Operating System, select Raspberry Pi OS (other) then Raspberry Pi OS (Legacy, 64-bit) with desktop.
- Use
Raspberry Pi Imagerto write the OS to your MicroSD card.
✅ 1.2 Boot and Connect:
- Insert the MicroSD card into your Raspberry Pi.
- Connect the Pi to your router via an Ethernet cable.
- Power on the Raspberry Pi and complete the initial desktop setup.
Don't want the hassle?
You can purchase a Raspberry Pi from us, pre-configured and ready to plug in.
Buy a Pre-Configured Hub🔗 Need help? Contact us.
Step 2: Install PiVPN
PiVPN is a script that makes setting up a VPN server incredibly simple.
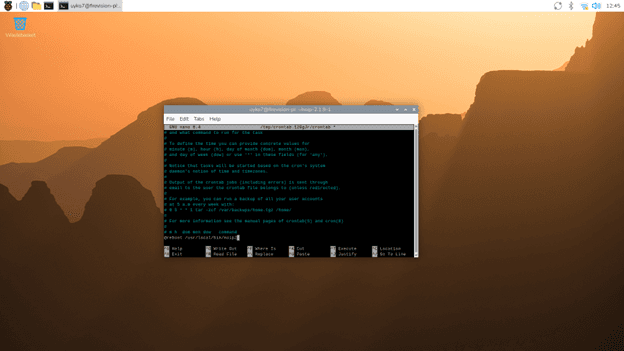
✅ 2.1 Open a Terminal and Run the Installer:
- On your Raspberry Pi desktop, open a Terminal window.
- Copy and paste the following command into the terminal and press Enter:
curl -L https://install.pivpn.io | bash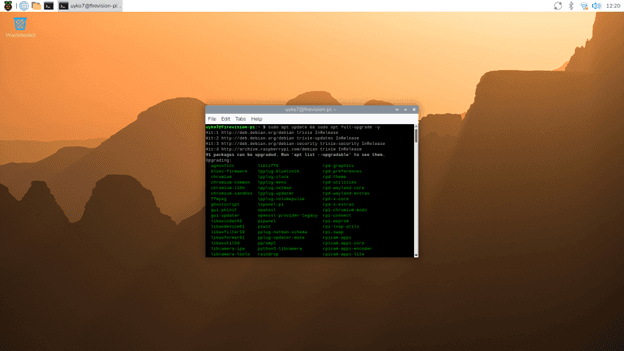
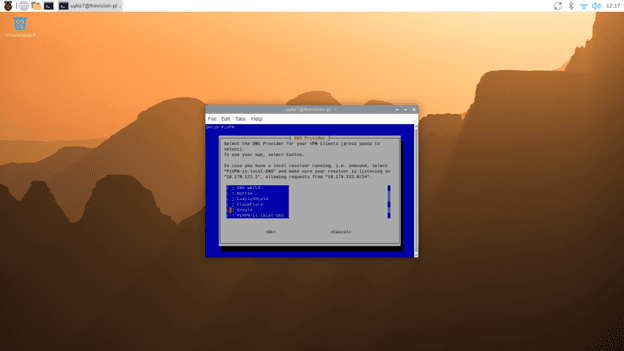
✅ 2.2 Follow the On-Screen Wizard:
The installer will guide you through a series of questions. Use the arrow keys and Enter to make selections.
- When asked, select WireGuard as the protocol.
- Accept the default port (51820) unless you have a reason to change it.
- For the DNS Provider, select your preferred one (e.g., Google).
- When asked about a Public IP or DNS, select DNS Entry and enter the No-IP hostname you created earlier (e.g.,
myfirevision.ddns.net). - Complete the installation and agree to reboot when prompted.
Don't want the hassle?
You can purchase a Raspberry Pi from us, pre-configured and ready to plug in.
Buy a Pre-Configured Hub🔗 Need help? Contact us.
Step 3: Install No-IP Dynamic Update Client (DUC)
Your home or office IP address can change. The No-IP client keeps your hostname pointed to the correct IP address automatically.
✅ 3.1 Download and Install:
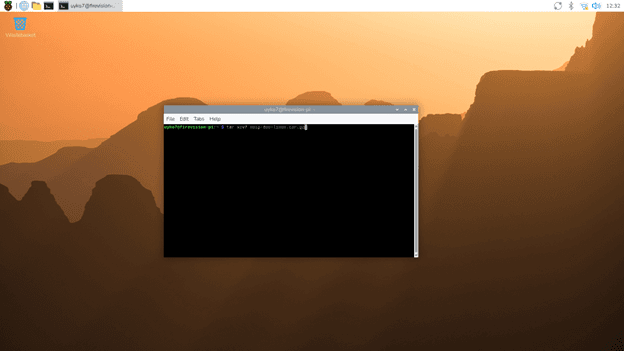
- After the Pi reboots, open a Terminal again.
- Run the following commands one by one:
cd /usr/local/src/ sudo wget http://www.noip.com/client/linux/noip-duc-linux.tar.gz sudo tar xf noip-duc-linux.tar.gz cd noip-2.1.9-1/ sudo make installDuring the installation, you will be prompted to enter your No-IP username and password.
Don't want the hassle?
You can purchase a Raspberry Pi from us, pre-configured and ready to plug in.
Buy a Pre-Configured Hub🔗 Need help? Contact us.
Step 4: Create a VPN Client Profile
Now we create a configuration file for the FireVision service to use.
✅ 4.1 Add a New Client:
- In a Terminal on your Pi, run:
pivpn add - Enter a name for the client, for example:
firevision-server - The command will create a
.conffile in the/home/pi/configs/directory.
✅ 4.2 Send the Configuration to Us:
This file contains the secure credentials for our servers to connect to your cameras.
- Navigate to the
configsfolder using the File Manager on your Pi desktop. - Attach the
firevision-server.conffile to an email and send it to our support team. - Do not share this file with anyone else.
Don't want the hassle?
You can purchase a Raspberry Pi from us, pre-configured and ready to plug in.
Buy a Pre-Configured Hub🔗 Need help? Contact us.
Step 5: Final Steps & Camera Configuration
Once we receive your configuration file, we will set up the secure connection on our end.
✅ 5.1 Port Forwarding:
- Log in to your internet router's admin page.
- Find the "Port Forwarding" section.
- Create a new rule to forward UDP port 51820 to the local IP address of your Raspberry Pi.

✅ 5.2 Update FireVision Camera Settings:
- Go to your FireVision profile page.
- Update your camera's RTSP link to use its local IP address (e.g.,
rtsp://username:password@192.168.1.10:554/stream). - Since our server is now connected via VPN to your local network, it can access the camera directly using its local IP.
Once we confirm the connection is active, your camera will be securely monitored by FireVision!
Don't want the hassle?
You can purchase a Raspberry Pi from us, pre-configured and ready to plug in.
Buy a Pre-Configured Hub🔗 Need help? Contact us.
✅ Final Checklist
- [ ] Raspberry Pi OS with Desktop is installed.
- [ ] PiVPN is installed and configured with your No-IP hostname.
- [ ] No-IP DUC is installed and running.
- [ ] A client
.conffile has been created and sent to FireVision support. - [ ] Port 51820 (UDP) is forwarded to your Raspberry Pi in your router.
- [ ] Camera RTSP link updated in FireVision profile to use local IP.